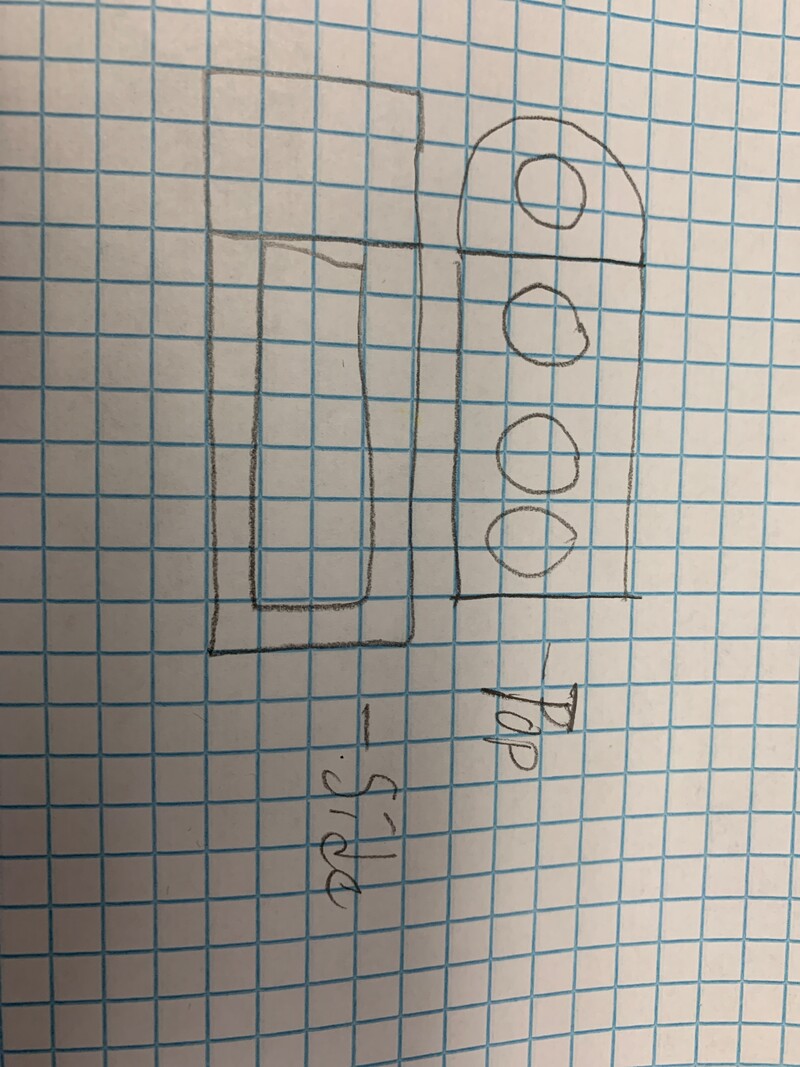
To start things off, I made a very rough sketch of what I wanted my toothbrush holder to look like. I decided on making it a rectangle with a rounded edge and a window through the part that was not rounded. My design also included 4 holes, allowing for storage of 4 toothbrushes.
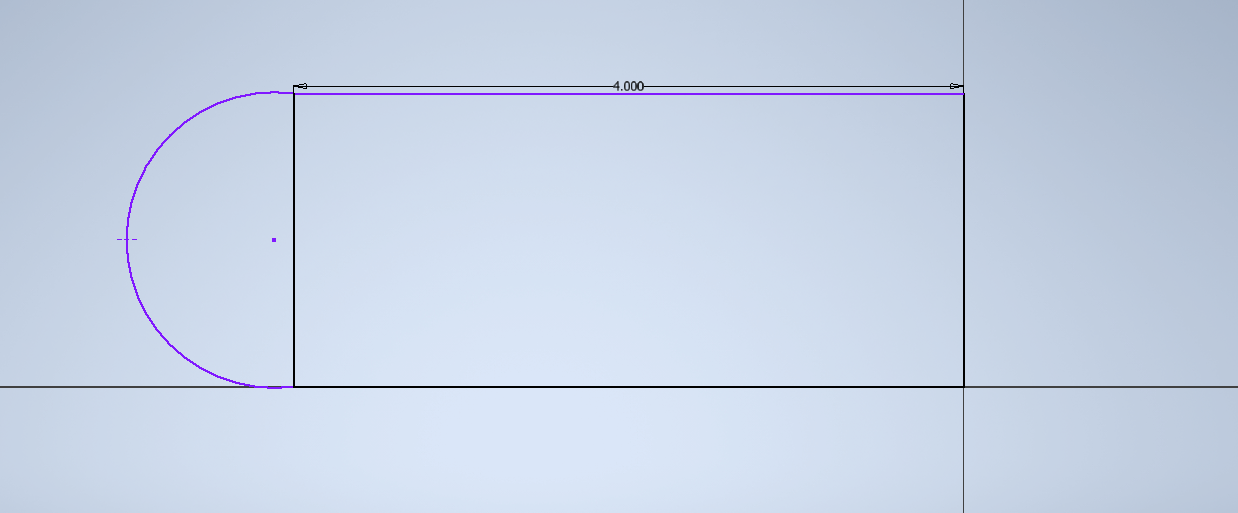
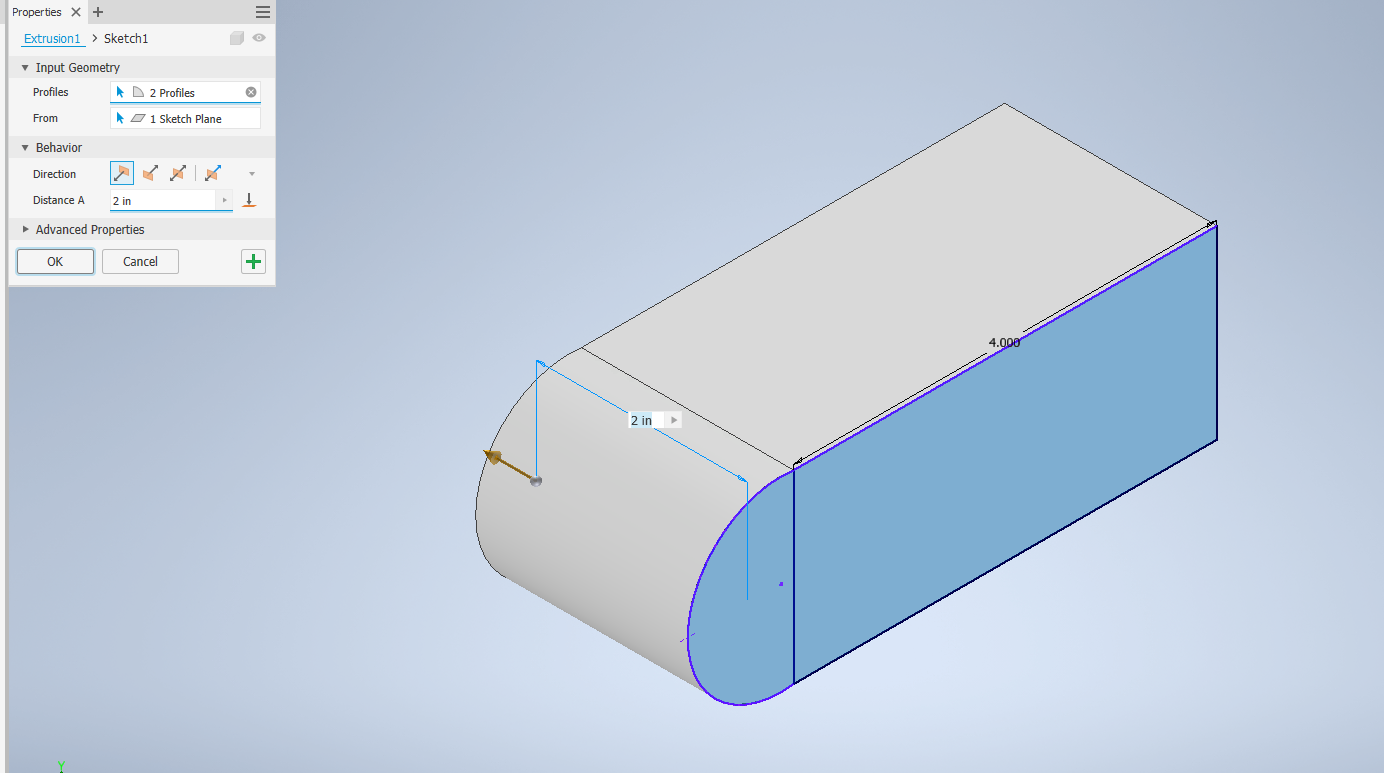
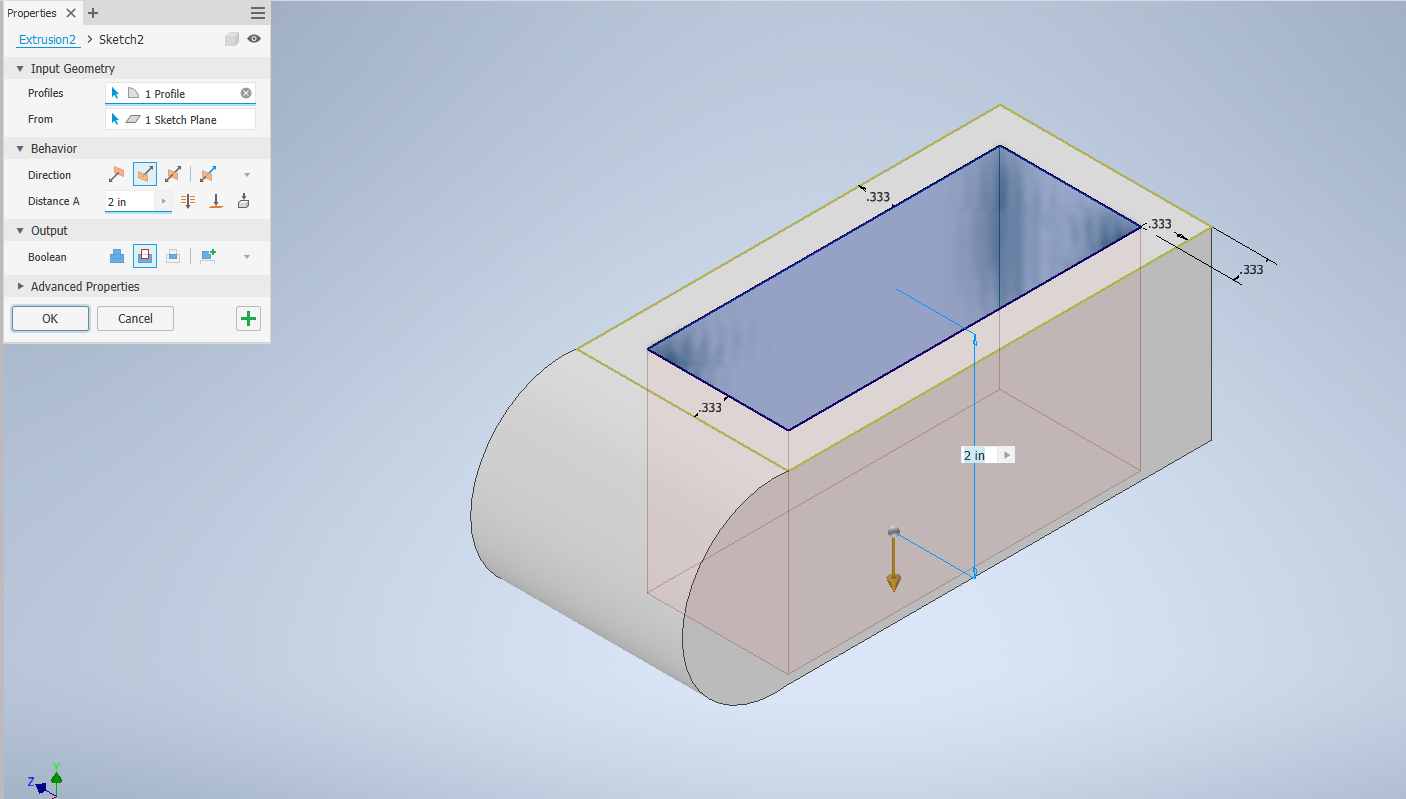
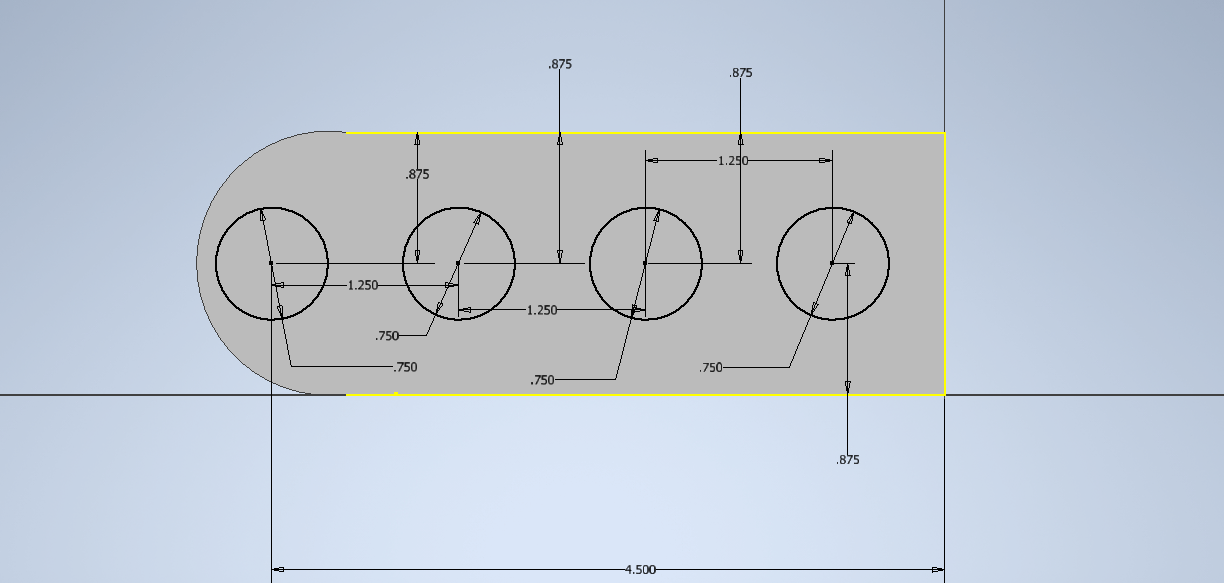
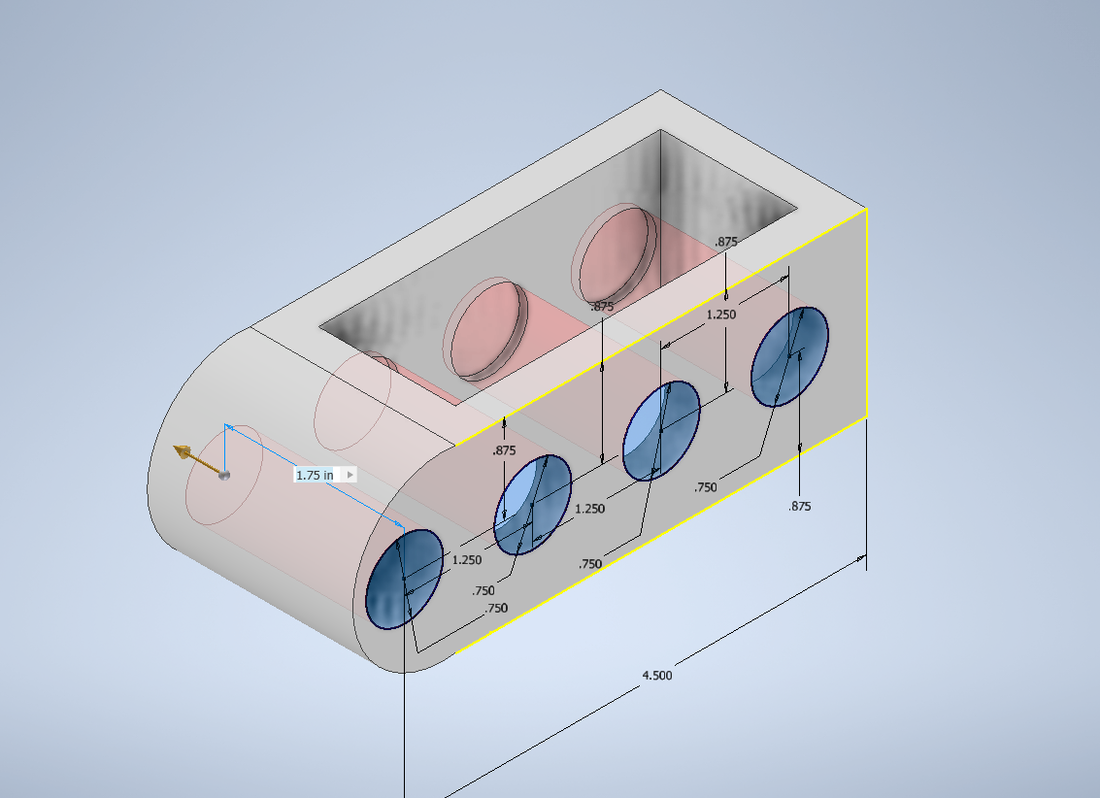
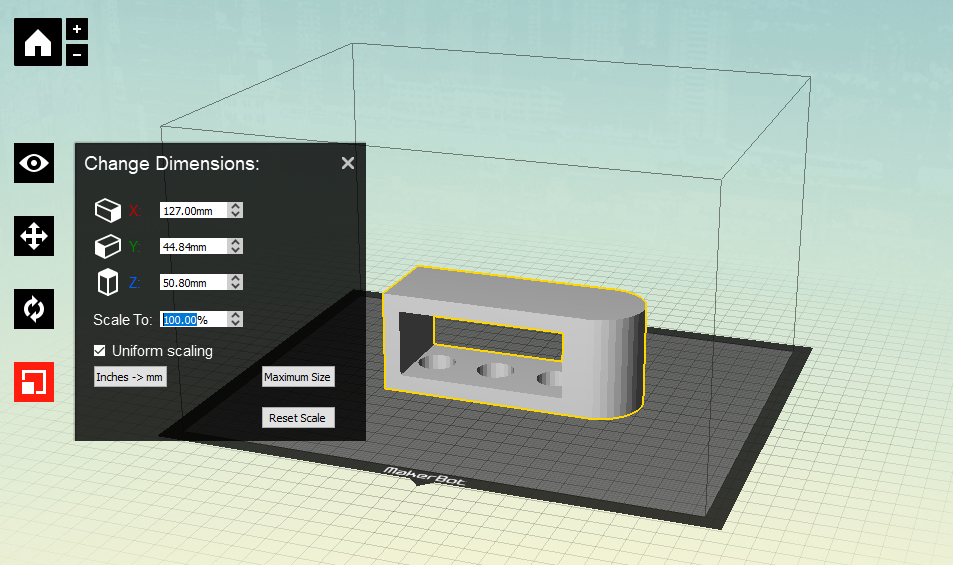
To create my toothbrush holder, I first made a rough sketch of just the shape (it has the arc at the end, it is just cut off). Then, I extruded that sketch and got a box. After that, I created a sketch of a rectangle on the side face and extruded it so that it would cut out the central area for the toothbrushes. Once that was done, the only thing left to do in Inventor was to make holes. I sketched out some circles on the top of the shape and extruded them (but not all the way through the shape). After I was done with Inventor, all I had to do was put the .stl file into Makerbot Desktop, change some settings, and scale it up to 1000%.
|
|
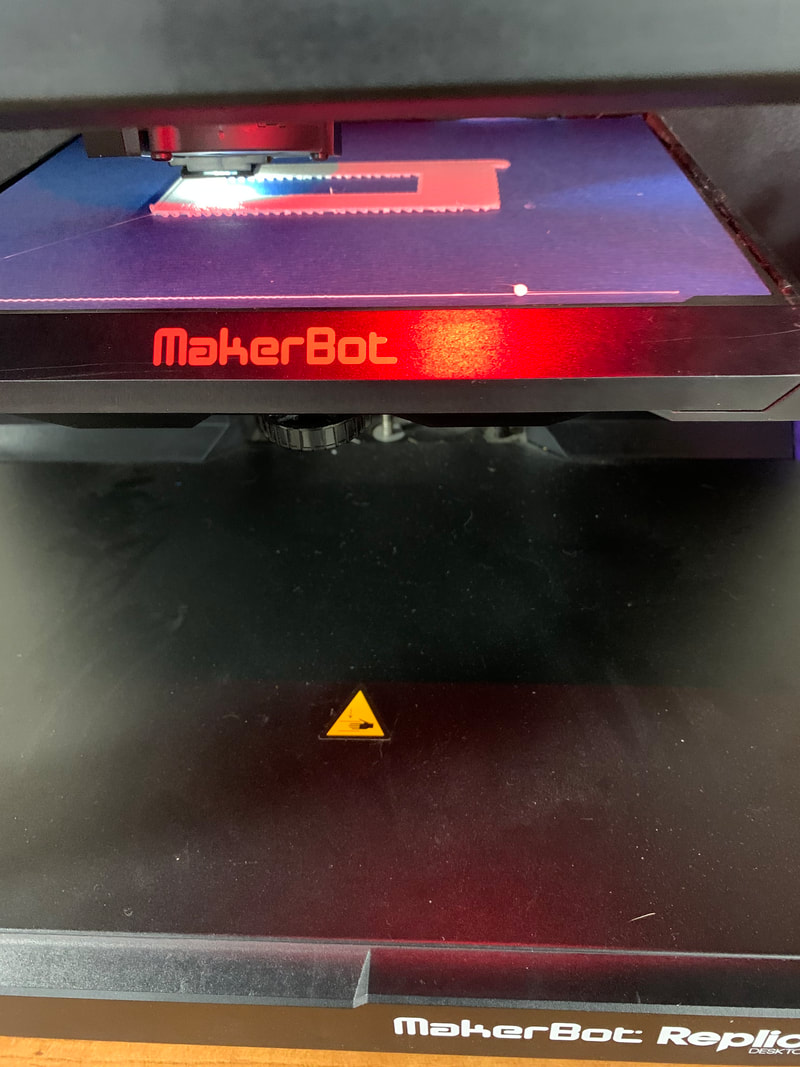
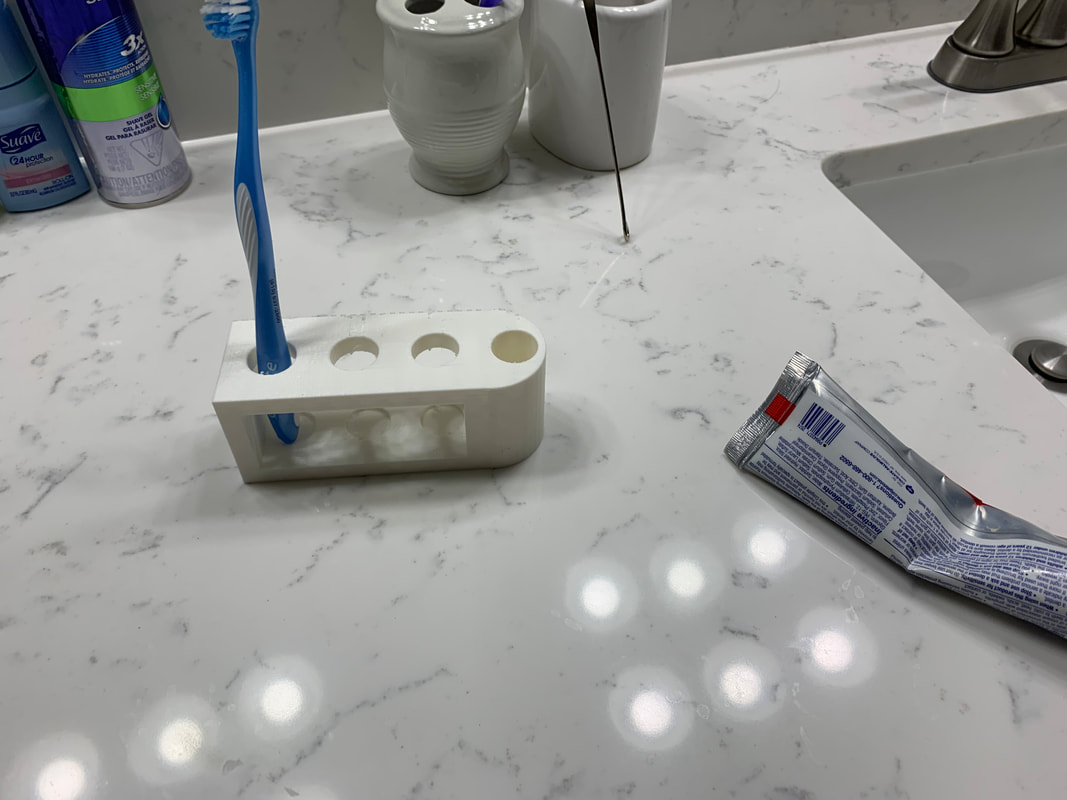
Once I had the Makerbot file loaded onto my flash drive, I simply took it over to the 3D printer and started printing it. The end product came out really good and the sizing was perfect for holding toothbrushes. Overall, I think it turned out great.
What I Learned:
From this rotation, I further strengthened my skills with Inventor and 3D printing as a whole. I also learned how supports worked as I had to use them due to the nature of my object. Since I have been using Inventor and Makerbot for well over 3 years, there was not much new material for me, but, it was still a great review and I think, overall, I sharpened my skills.
