Pre-Sketching
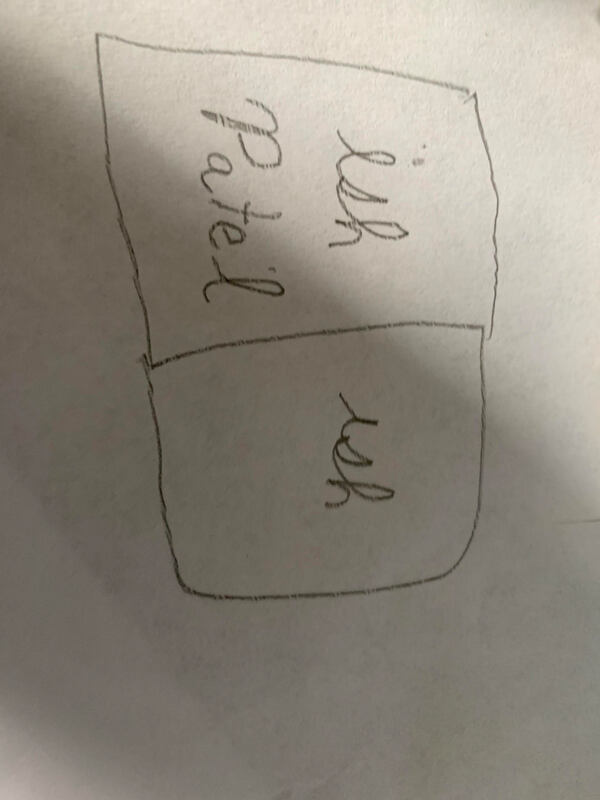
For the notepad design, I just made a very rough sketch as I knew I only wanted some basic text. I had to have two elements on the front as it needed to have a cut element and an engraved element, so I just put my first and last name.
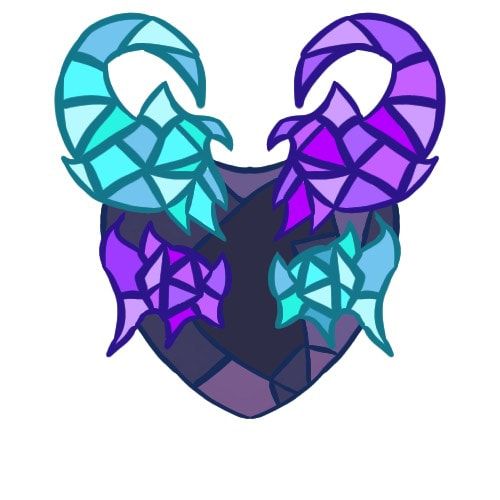
Instead of creating a hand drawing in my notebook, I just made this in Illustrator. I wanted to do another custom image as it had turned out very well in my Individual Vinyl, so I drew this on my own. This is a colored version so I could differentiate the different sections.
Making the Notepad

|

|
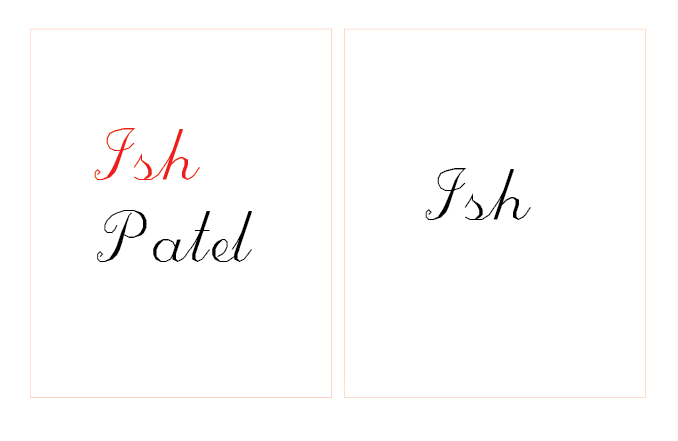
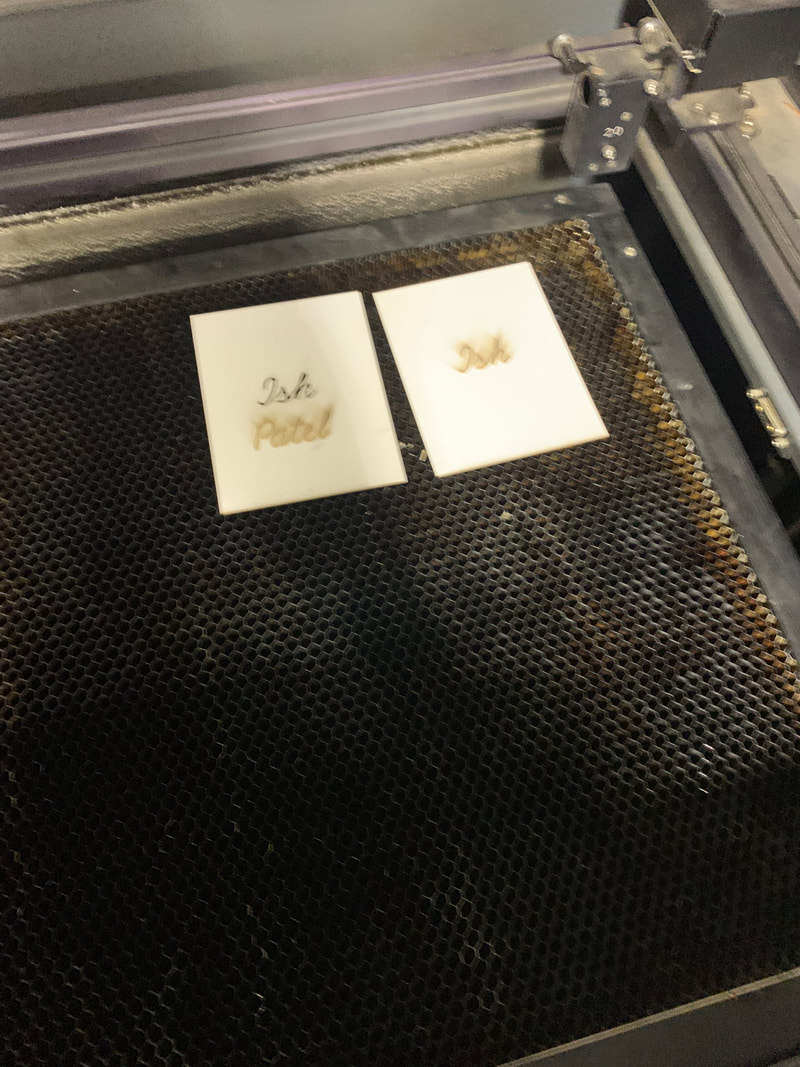
To create the notepad, I first made two squares which were the correct dimensions for notepads. The dimensions were 4.5x5.5 in. I also had to put any areas that were to be cut out in RGB red with 0.001 point (The red text is enlarged so you can actually see it). After that, I just had to put the text I wanted in the center and the notepad was complete.
|
|
|
|
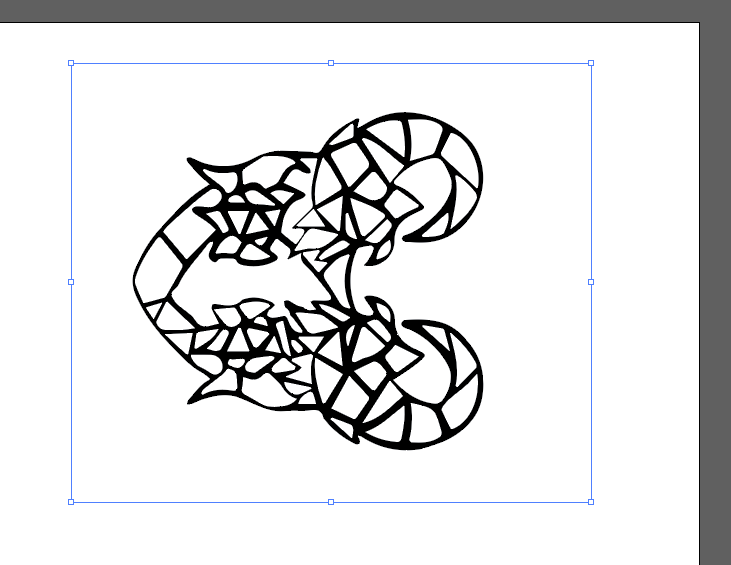
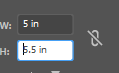
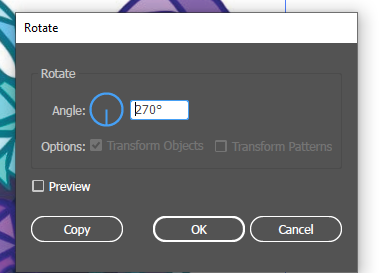
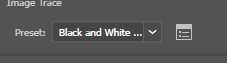
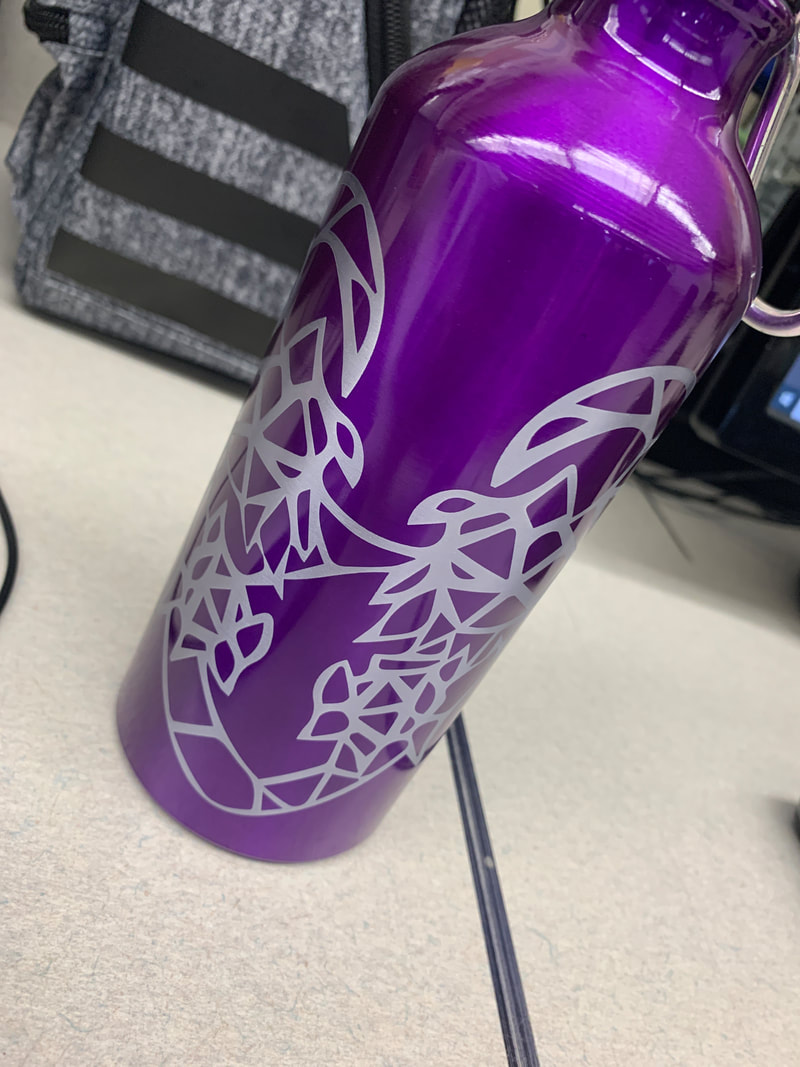
To create the water bottle, I had to resize my image so it was under 5in x 8.5 in. 5 Inches was the maximum height that our design could be on the bottle, and the circumference of the bottle was around 9 inches, so, to allow for some room, the max should be 8.5 inches. Mine was not nearly this big, so I did not have to change it much. Then, I had to rotate it 270 degrees to properly orient it to be engraved. After that, I clicked image trace and "Black and White Logo" so the laser knows what to engrave. Then, I was ready to engrave it.

|
|
|
|
|
Both of the projects had a similar process in terms of the laser, but there was one big difference. For the matboard, I simply loaded up my Illustrator file, put it into UCP, selected matboard, oriented it properly, and hit start. For the water bottle, I had to put in the rotary jig, get my file in Illustrator, select Aluminum in UCP, set the mode to rotary in UCP, make sure the diameter in UCP was correct, and then start it. I also adjusted the power a tiny bit to make sure I would get all the way through the paint to get that nice, silver color instead of a pink.
What I Learned:
From doing this, I further understood how to use Illustrator as well as the laser. I bettered my skills in drawing in Illustrator in the water bottle, and recalled some of the things I had learned from the keychain project when doing my matboard. I also learned how to set up the rotary jig, and how to get that set up in UCP. On top of that, I learned how to adjust power and speed settings in UCP to get the perfect end result.
