What is Inventor?
Inventor is a 3D modeling software commonly used by people in the STEM industry to create and design new/old parts that can be later 3D printed, or have a detailed drawing created of them. With Inventor, you start with just an empty workspace, create sketches, extrude and cut to your liking, and end up with a finished part. You can also assemble different parts in what is known as an assembly, and animate these assemblies in a presentation file. Overall, Inventor is a great tool for all kinds of 3D modeling, drawing, and presenting.
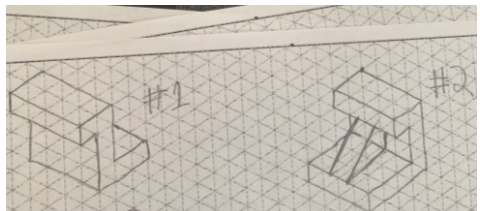
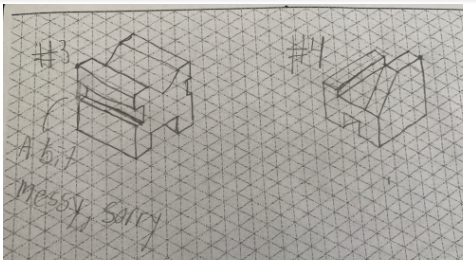
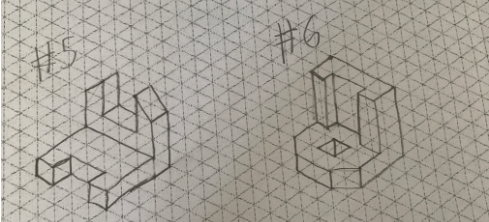
Listed from left to right: Widgets 1, 2, 3, 4, 5, and 6.
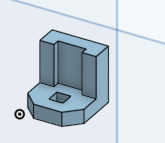
A Detailed Description on How I Made Widget 6
Steps/pictures listed from left to right:
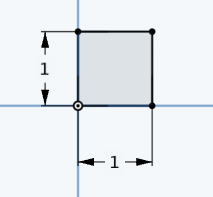
1. Make a 1 inch by 1 inch square to start off with
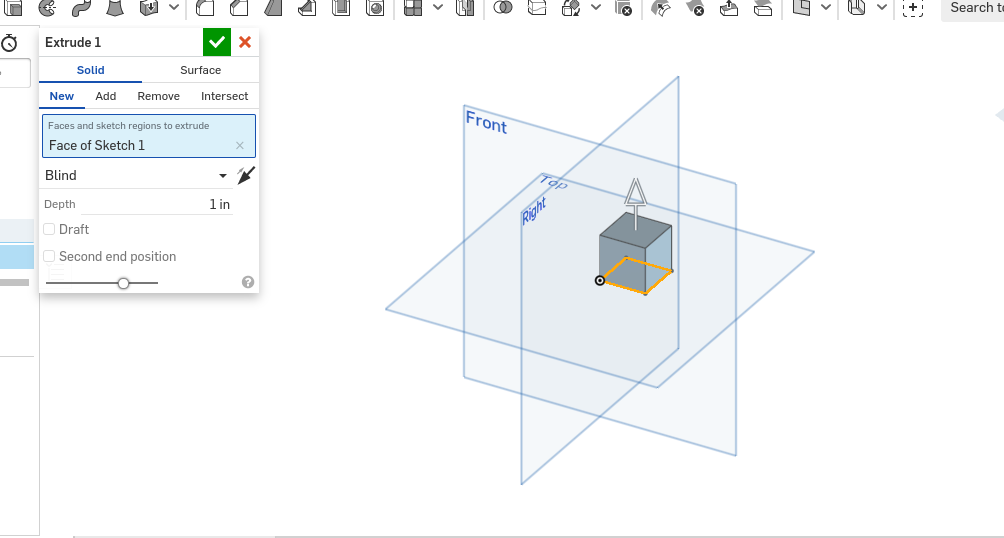
2. Extrude this square 1 inch so it turns into a 1 inch cube
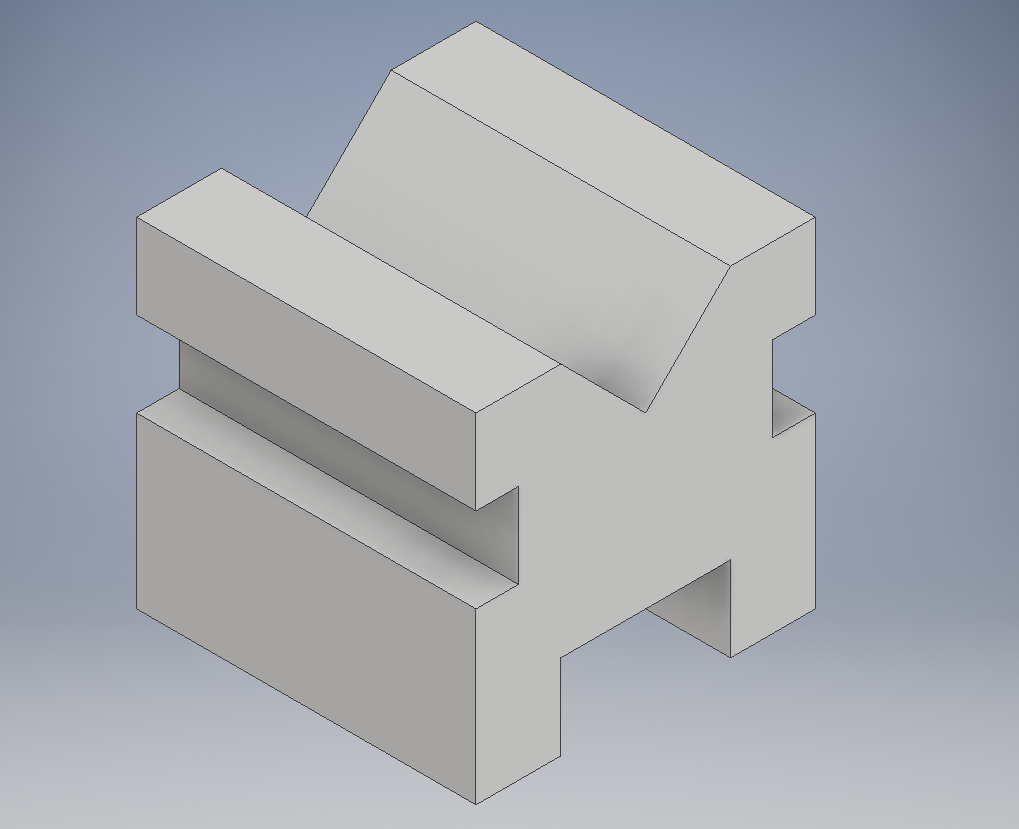
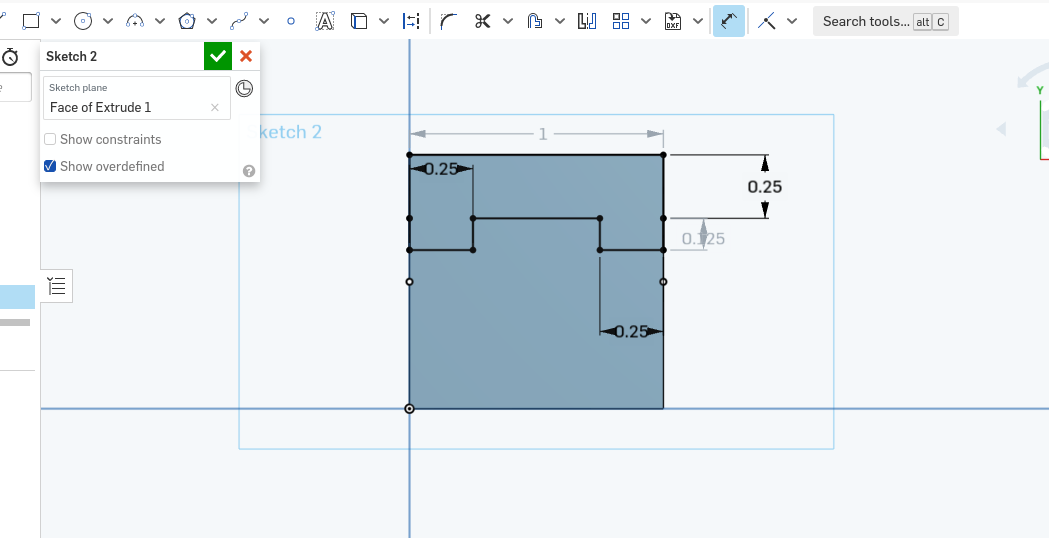
3. Create a rectangle on the top face with dimensions of 1 inch by .25 inches, then add two smaller rectangles on each side below it (touching the rectangle) with dimensions of .125 inch (length) by .25 inch (width). After you have done this, remove any unnecessary sides so that this shape becomes one shape and not 3 separate rectangles.
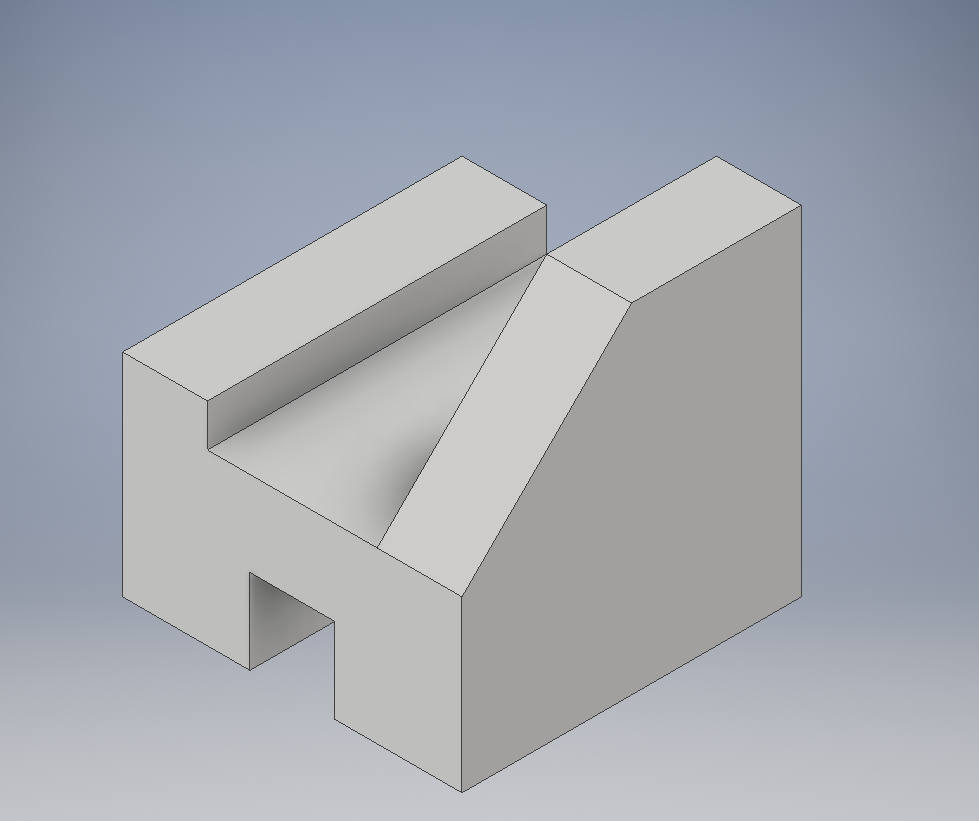
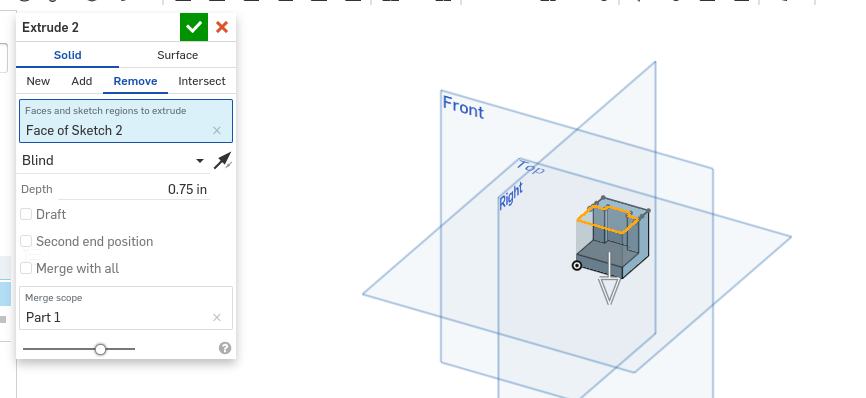
4. Extrude the part of the sketch that you did not draw (the part that is not the rectangle-like sketch you just drew). The settings for this extrusion should be on "cut" mode, and it should cut 0.75 inches into your original shape.
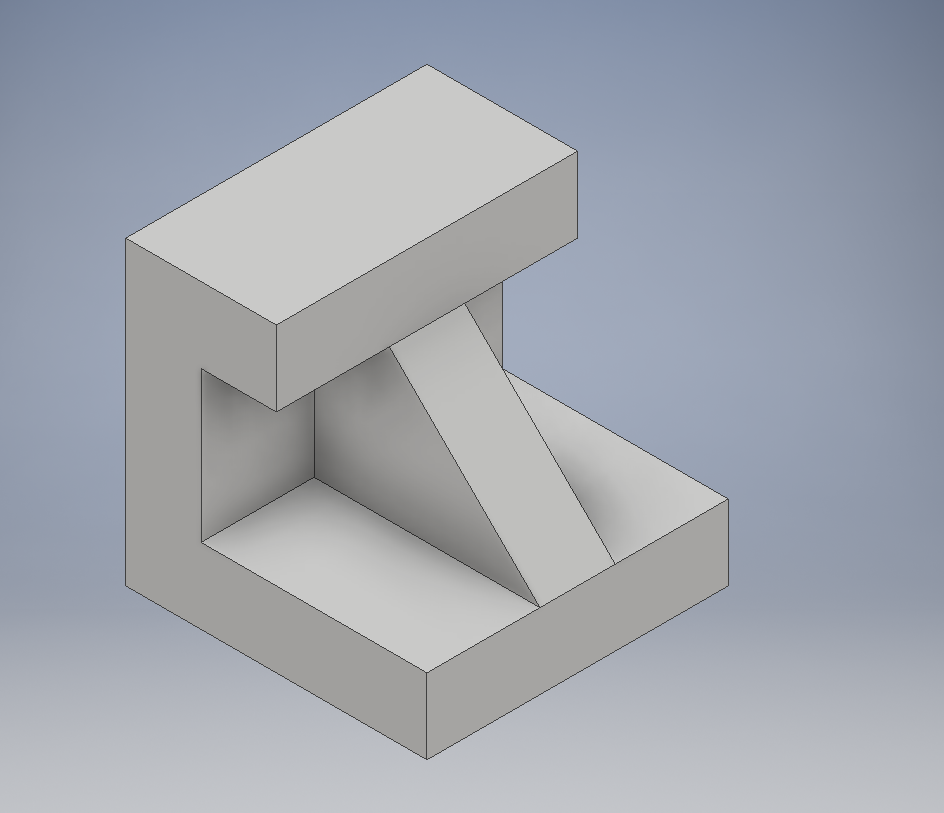
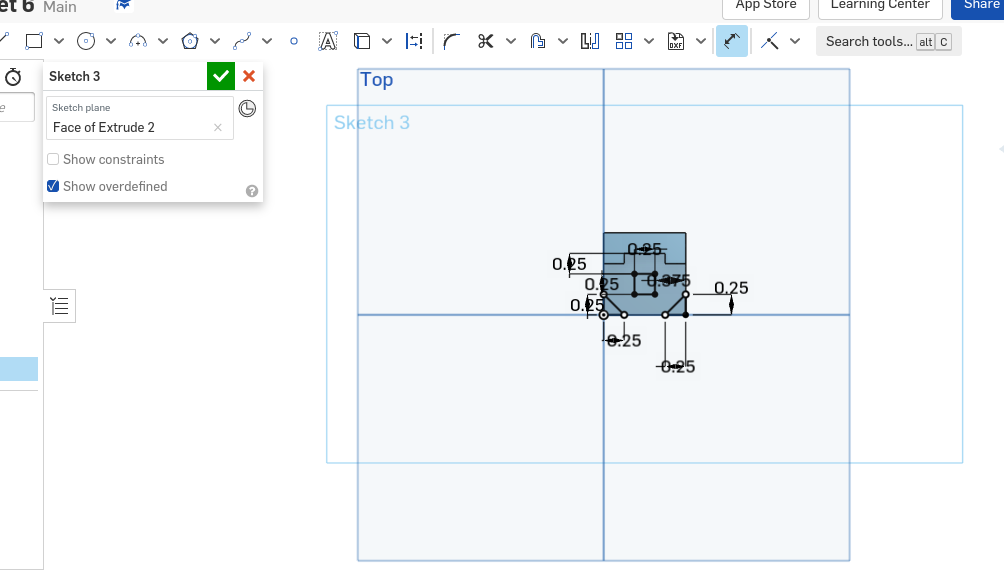
5. Create a new sketch on the large face of this new shape that is pointed upwards (not the face on the very top). Create two rectangles in each bottom corner with a base and height of 0.25 inches (I know the photo is a bit messy, it is because there are so many dimensions), then create a square with a length and width of 0.25 inches and dimension it so that each vertical side is 0.375 inches away from the vertical edges of the original cube, and that the top horizontal edge is 0.25 inches away from the opening in the rectangle-like structure you created in step 3.
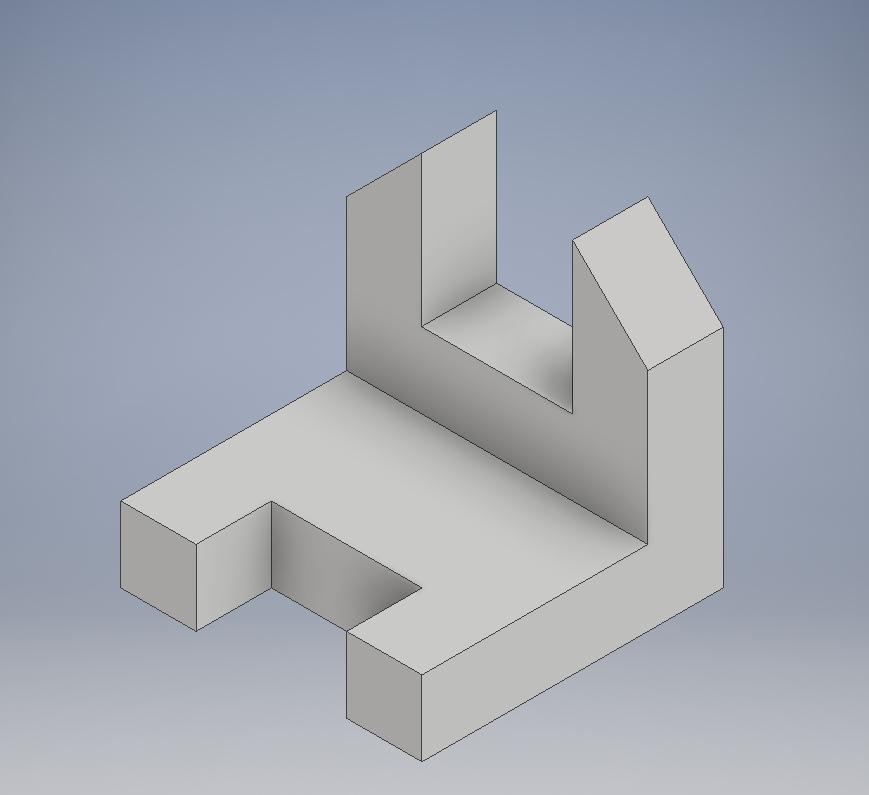
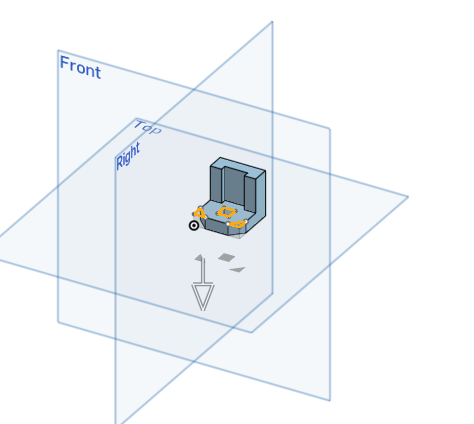
6. Extrude all 3 faces of this sketch. The mode should be on "cut" and the depth does not matter as long as it cuts through the whole shape.
1. Make a 1 inch by 1 inch square to start off with
2. Extrude this square 1 inch so it turns into a 1 inch cube
3. Create a rectangle on the top face with dimensions of 1 inch by .25 inches, then add two smaller rectangles on each side below it (touching the rectangle) with dimensions of .125 inch (length) by .25 inch (width). After you have done this, remove any unnecessary sides so that this shape becomes one shape and not 3 separate rectangles.
4. Extrude the part of the sketch that you did not draw (the part that is not the rectangle-like sketch you just drew). The settings for this extrusion should be on "cut" mode, and it should cut 0.75 inches into your original shape.
5. Create a new sketch on the large face of this new shape that is pointed upwards (not the face on the very top). Create two rectangles in each bottom corner with a base and height of 0.25 inches (I know the photo is a bit messy, it is because there are so many dimensions), then create a square with a length and width of 0.25 inches and dimension it so that each vertical side is 0.375 inches away from the vertical edges of the original cube, and that the top horizontal edge is 0.25 inches away from the opening in the rectangle-like structure you created in step 3.
6. Extrude all 3 faces of this sketch. The mode should be on "cut" and the depth does not matter as long as it cuts through the whole shape.
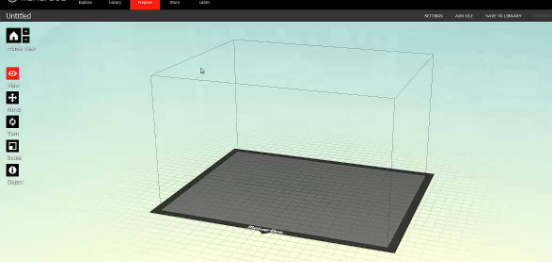
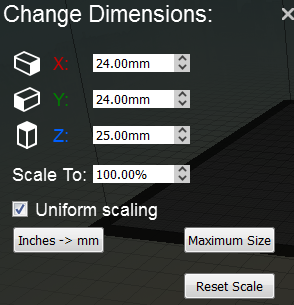
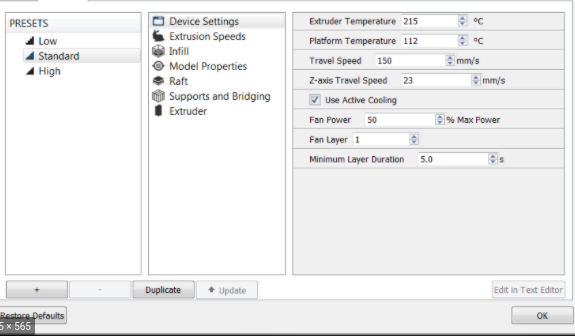
To get my file to 3D print, I first needed to put it in MakerBot desktop to convert the file type. I inserted the STL file, changed the scale (the dimensions in the image are not accurate to my actual widget, it is just a sample photo), and changed the print settings to match the 3D printer.
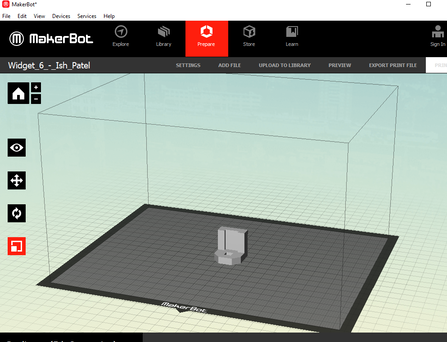
Widget #6 in MakerBot Desktop
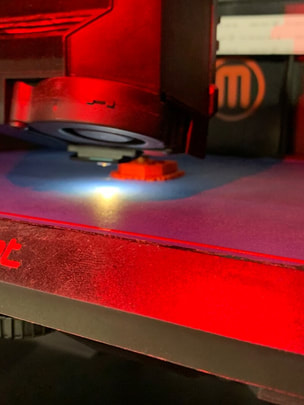
Widget 6 Printing
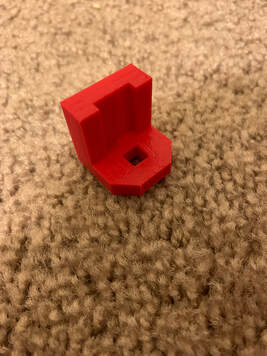
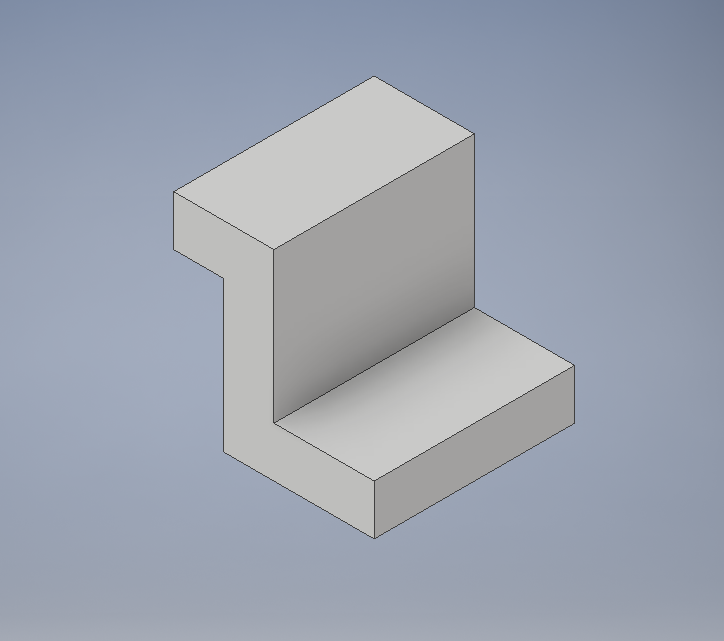
Finished Product
What I learned:
From making and printing these widgets, I was able to brush up on my Inventor, 3D Printing, and isometric sketching skills. Most of this I have done before many times, but it has been a while and I feel like I have rediscovered much of what I had forgotten. I also learned how to use MakerBot Desktop (I used to use MakerBot Print) and how to print using a flash drive instead of printing wirelessly. Overall, I think the widgets were a great way for me to rediscover many of the things I had forgotten about this entire process.
