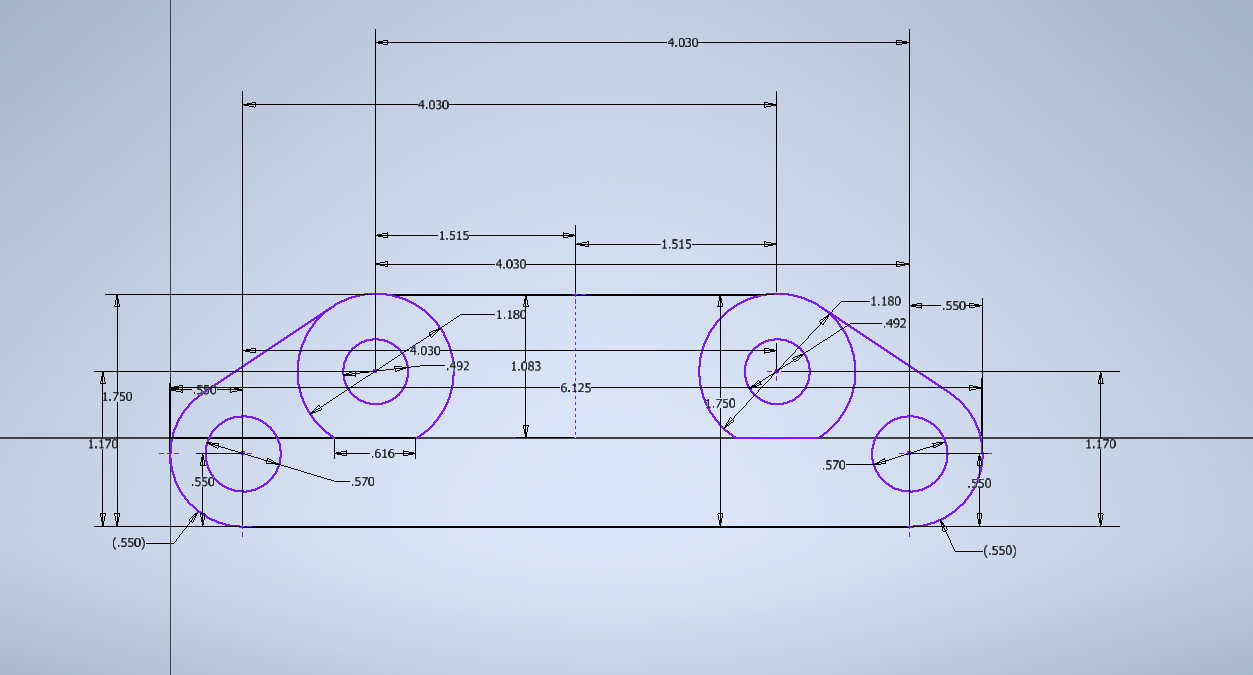
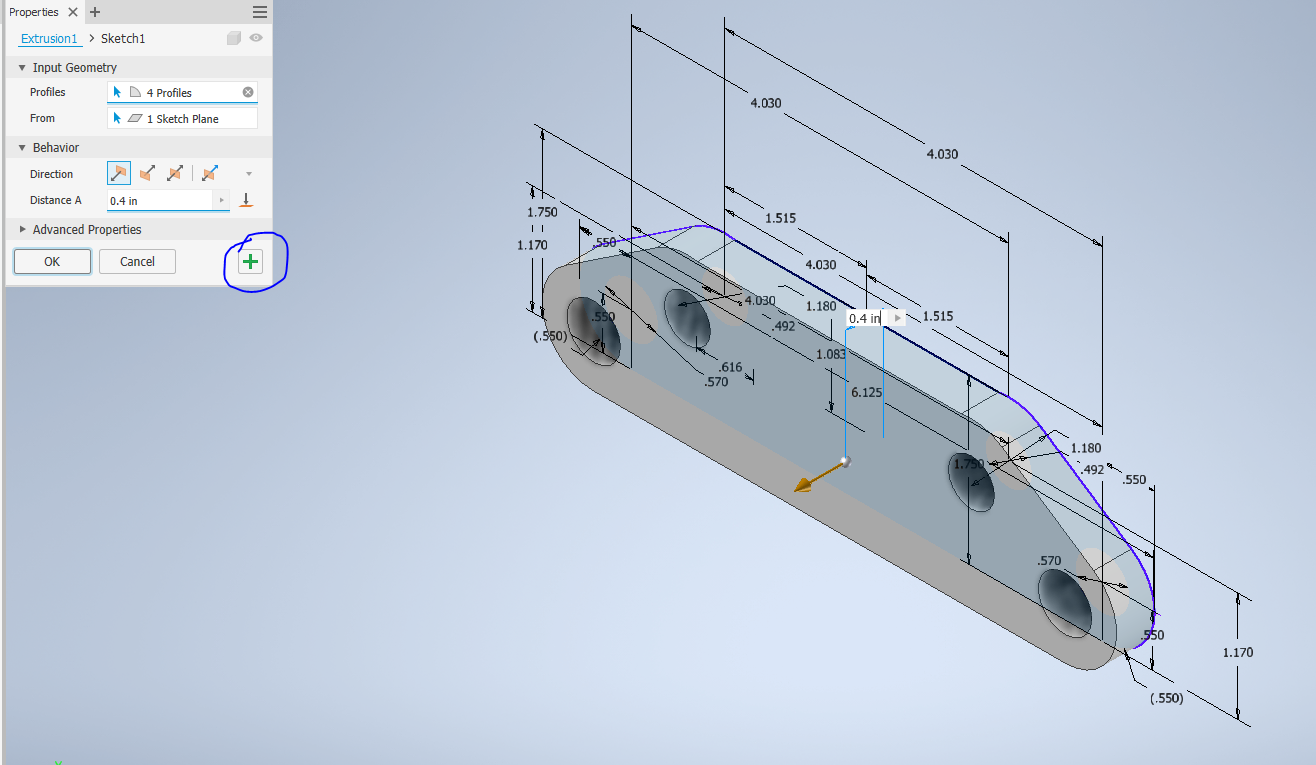
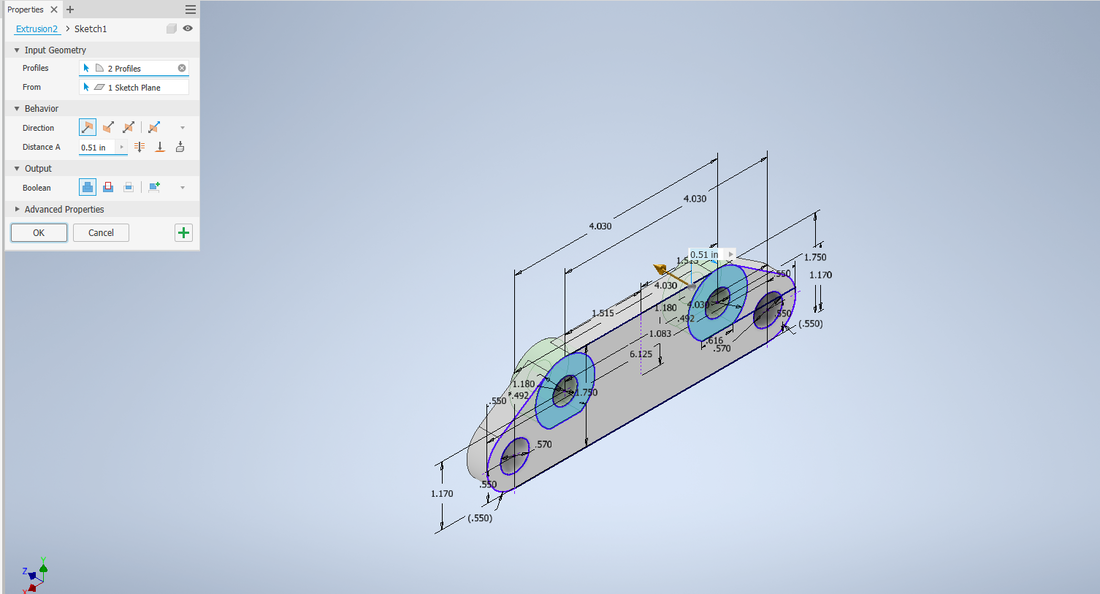
For the brake bracket, I simply made a sketch of it, extruded it, and then (this is a difference from the normal instructions) instead of pressing ok when done with the extrusion, I pressed the plus (circled in second picture) to make another extrusion from the same sketch so I did not have to do a separate extrusion for the little 3D sections.
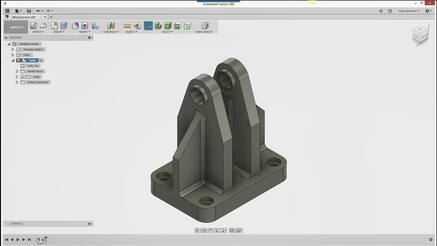
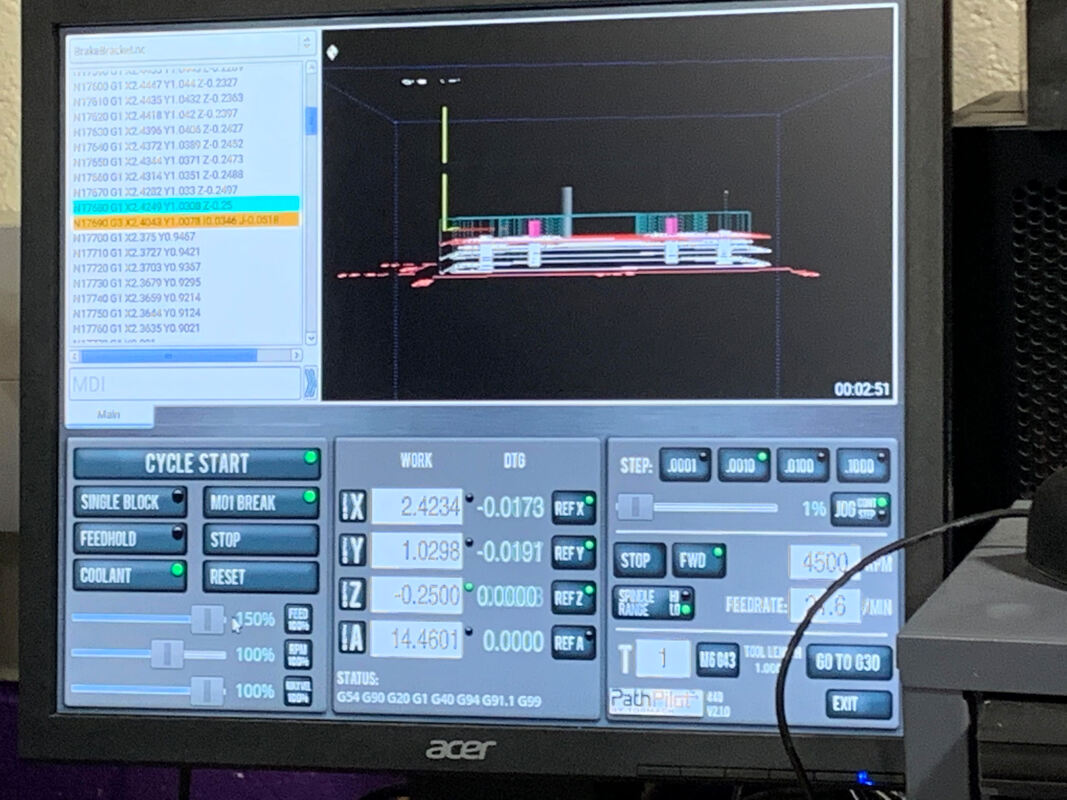
After I was done making the part, we (as a class), watched a version of the part get set up in Fusion in order to get the correct settings for the CNC Mill. Unfortunately, there was not enough time for us to do this individually, but we learned how to do things such as change the cutting depth of the CNC Mill. *The part above is not our actual part*
|
|
|
|
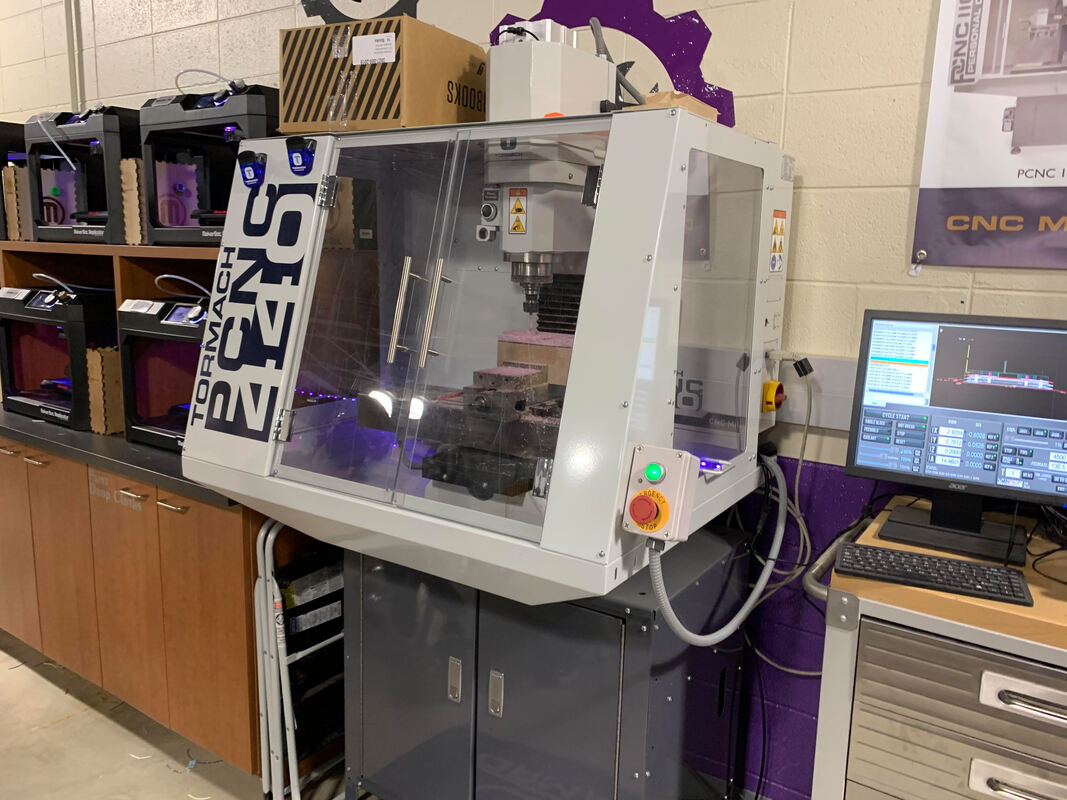
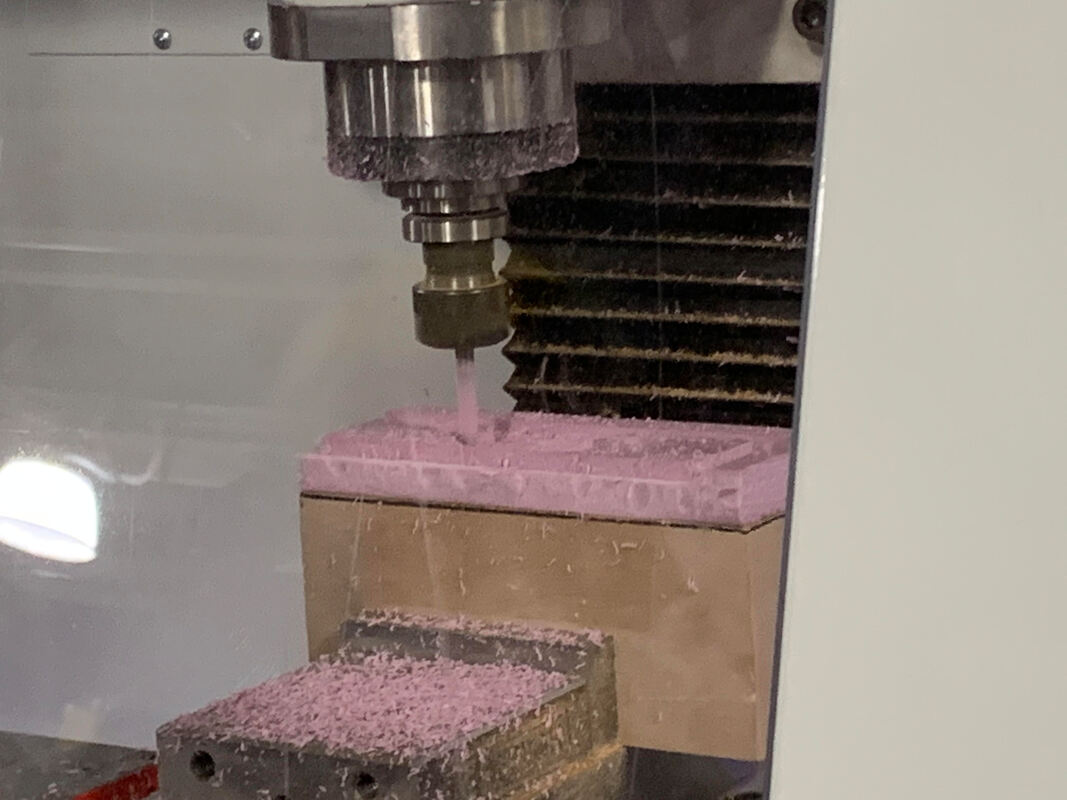
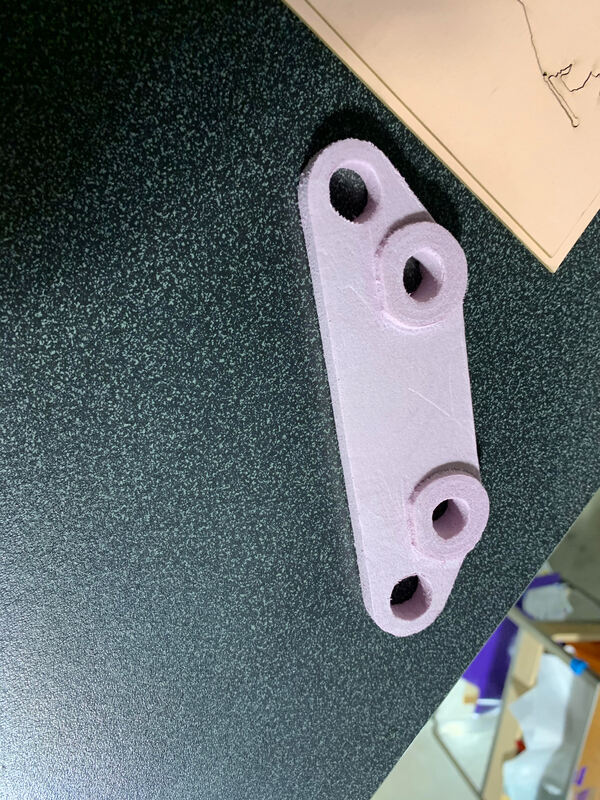
After we had the Fusion code file, we put it on a flash drive and inserted it into the computer connected to the mill. We loaded up the file onto the mill software and checked our settings, then hit start. The mill got to work by slowly cutting away foam from a foam block to eventually make the final bracket (on the right).
What I Learned:
From this activity, I further improved my skills with Inventor as well as using how to use Fusion 360 for the first time. I also learned how the CNC Mill paths and how to set up a file to be made and actually cut with the CNC Mill. Overall, I think I picked up quite a few new skills through this activity.
